前回の記事まで長いこと AnimateDiff で遊んでいました。
AnimateDiff を触れる中で AnimateLCM に触れ、LCM という技術を AnimateDiff の中で触れていました。
今更ですが普通の LCM (Latent Consistency Model) を使ってみます。
こちらも AnimateDiff 同様 v0.22.0 のリリースノートから触れていきます。
少ないステップ数で高品質の画像を出力できるアレ!
はじめに
LCMs enable a significantly fast inference process for diffusion models.
LCM により Diffusion Models の推論プロセスが大幅に高速化されます。
They require far fewer inference steps to produce high-resolution images without compromising the image quality too much.
画質をあまり損なうことなく高解像度の画像を生成するために必要な推論ステップがはるかに少なくなります。
ということで、知ってた!AnimateLCM でやったもん!
やってみる
LCM 用のモデルをロード
import torch
from diffusers import DiffusionPipeline

# モデルのロード等
pipe = DiffusionPipeline.from_pretrained(
    "SimianLuo/LCM_Dreamshaper_v7",
    torch_dtype=torch.float32
)

# To save GPU memory, torch.float16 can be used, but it may compromise image quality.
pipe.to(torch_device="cuda", torch_dtype=torch.float32)
このパターンの場合は LCM 系モデルを使わないといけないので、好きなモデルは使えないってことかな?
パイプライン実行
import torch
# パイプライン実行
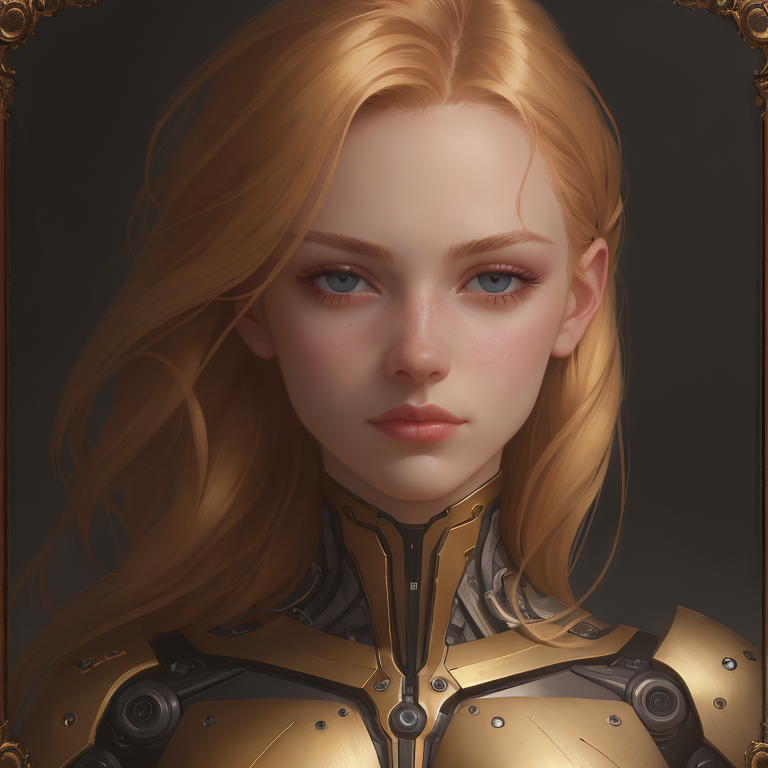
prompt = "Self-portrait oil painting, a beautiful cyborg with golden hair, 8k"
image = pipe(
prompt,
# Can be set to 1~50 steps. LCM support fast inference even <= 4 steps. Recommend: 1~8 steps.
num_inference_steps=4,
guidance_scale=8.0
).images[0]
なるほど、1~8 step が推奨値だったのか
実行結果


まとめ
推奨値を超えても品質が上がって行きました
但し、生成時間も上がっていく!